Free Website On Blogger : Step-By-Step Guide
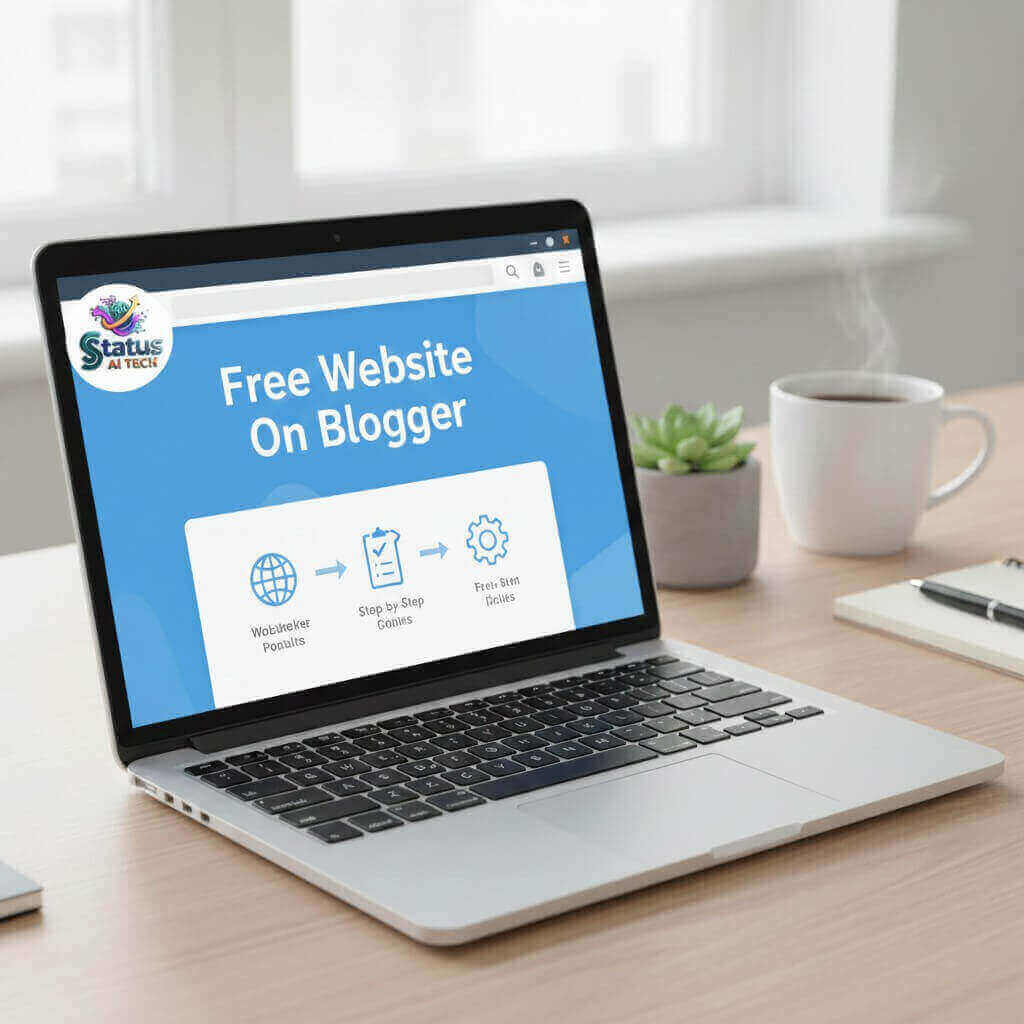
Free Website On Blogger, “Want to build your own website for free? In this guide, I’ll show you how to set up a professional blog on Blogger.com using your phone or PC. Since it’s a Google platform, hosting is free and no technical knowledge is required. Let’s dive in!
A huge thank you to my amazing community for staying connected with my YouTube channel and website. Your support means the world to me!”
Step-by-Step Guide: How to Create a Free Website on Blogger
Step 1: Sign In to Blogger
First, go to Blogger.com. Click on the “Create Your Blog” button. You will need a Google (Gmail) account to sign in. If you are already logged into your Google account, As soon as you click on the Blogger link, it will take you directly to Blogger.
Step 2: Choose a Name (Staus Ai Tech) for Your Blog
A window will pop up asking for a “Title.” This is the name of your website that will appear at the top of your homepage. Choose a name (StatusAiTech) that reflects what your blog is about and click “Next.”
Step 3: Choose a URL (Web Address)
Now, you need to choose an Address (URL) for your blog (e.g., https://www.google.com/search?q=yourname.blogspot.com). (statusaitech.blogspot.com)
Note: Since this is a free platform, “https://www.google.com/search?q=.blogspot.com” will be added to your domain.
If the name you want is already taken, try adding a number or a small variation until it says “Blog address is available.” Click “Next.”
Step 4: Confirm Your Display Name
Blogger will ask for your “Display Name.” (StatusAiTech) This is the name that readers will see as the author of the blog posts. Type your name and click “Finish.”
Note: Please remember that I have used my domain name in this post. You can use your own blog name.
Step 5: Select a Theme (Design)
Your dashboard is now ready! On the left-hand menu, click on “Theme.” Here, you can browse through many free templates provided by Google. Choose one that you like and click “Apply.” Don’t worry, you can change this anytime later.
Step 6: Create Your First Post
To start writing, click on the “+ New Post” button on the top left.
Add a Title for your article.
Write your content in the main body.
You can add images and videos using the toolbar at the top.
- Use H1, H2, H3, and H4 tags for good headings, which will strengthen your on-page SEO.
Once you are finished, click the “Publish” button on the right side. So, friends, your blog is now completely ready.
How to Add a Custom Domain to Your Blogger Site
If you want to make your website look more professional by removing the “.blogspot” part (for example, moving from https://www.google.com/search?q=mysite.blogspot.com to www.mysite.com), you can easily connect a custom domain.
Step 1: Buy a Domain
First, you need to purchase a domain name from providers like GoDaddy, Namecheap,HostigRaja or Google Domains. Once you have your domain, follow the steps below.
Step 2: Update Settings in Blogger
Go to your Blogger Dashboard.
Click on Settings in the left-hand menu.
Scroll down to the Publishing section and click on Custom domain.
Enter your purchased domain name (e.g.,
www.yourdomain.com) (www.statusaitech.com) and click Save.You will see an error message with two CNAME records (Name & Destination). Don’t panic! This is normal. You need these details for the next step.
Step 3: Configure DNS on Your Domain Provider
Log in to your domain provider’s website (like GoDaddy).
Go to the DNS Management or DNS Settings page.
Add the two CNAME records provided by Blogger in Step 2.
Also, add the following four A-Records (IP addresses) to point your domain to Google:
216.239.32.22
216.239.34.22
216.239.36.21
216.239.38.21
Step 4: Finalize in Blogger
Go back to your Blogger Settings.
Click Save again on the Custom Domain box.
Important: Turn on the toggle for “Redirect domain” so that your site opens even if someone forgets to type “www”.
Also, turn on “HTTPS availability” to make your site secure (the green lock icon).
Note: It can take anywhere from 1 to 24 hours for the domain to start working properly. Be patient!
SEO और प्रोफेशनल लुक के लिए ब्लॉगर (ब्लॉगस्पॉट) साइट को सही तरीके से सेटअप करना बहुत ज़रूरी है।
तो दोस्तों आइये
- ब्लॉगर के अन्दर हम थोड़ा और समझते है।
1. Basic Settings
These settings define the identity of your blog.
Title: Enter the name of your blog.
Description: Add a short summary (up to 500 characters) about what your blog is about. This is important for SEO.
Blog Language: Set this to English (or your preferred language).
Adult Content: Keep this “Off” unless you are posting 18+ content.
Google Analytics ID: If you have an account, paste your Measurement ID here to track traffic.
2. Privacy & Publishing
Visible to search engines: Ensure this is toggled ON. If it’s off, Google will not show your blog in search results.
Blog Address: This is your URL (e.g.,
example.blogspot.com). You can change it here or connect a Custom Domain (like.comor.in).HTTPS: Always keep HTTPS Redirect turned ON for security.
3. Permissions
Blog Admins and Authors: You can invite friends to write for your blog here.
Reader Access: Keep this as Public so everyone can read your posts.
4. Posts, Comments, and Sharing
Max posts shown on main page: Set this between 5 to 7. Loading too many posts makes the site slow.
Comment Location: Choose “Embedded” so the comment box stays under your post.
Who can comment: It is best to select “Users with Google Accounts” to avoid spam.
5. Formatting (Time & Date)
Time Zone: Change this to your local time (e.g., (GMT+05:30) India Standard Time). This ensures your scheduled posts go live at the right time.
6. Meta Tags (Crucial for SEO)
Enable search description: Turn this ON.
Search Description: Write a brief, keyword-rich summary of your blog. This appears under your link in Google search results.
7. Crawlers and Indexing
Warning: Be careful here. Incorrect settings can hide your blog from Google.
Enable custom robots.txt: Leave it off unless you have specific requirements.
Enable custom robots header tags: Turn this ON.
Home Page Tags: Check
allandnoodp.Archive and Search Page Tags: Check
noindexandnoodp.Post and Page Tags: Check
allandnoodp.
8. Monetization (Optional)
Enable custom ads.txt: Only turn this on once you are approved for Google AdSense.
“We hope you found this information helpful! Thank you for spending your valuable time with us. At statusaitech.com/, we post new content daily, covering everything from computer knowledge to the latest digital skills.
Stay Updated:
Visit our website daily for the latest updates.
Follow our Facebook Page [
Follow us on Facebook
] for more tips.
See you in the next post!”